The service Xcode Cloud was introduced a couple of years ago and has been improved over time. In this small guide, I just want to show case you, how simple it is to setup a such workflow in Xcode Cloud to build and deploy your apps no longer on a local machine. Instead with Xcode cloud you can setup your CI/CD pipelines on a Mac. And the best feature: There are already 25 hours per month included for building time if you have an Apple developer account.
To get started we need here some points, which you have to check first.
Prerequisites
- Xcode 14 or newer
- Functional app in your environment and already published to the App Store
- GitHub Repository, where your app is stored
- App Store Connect access
First, we need to open our project in Xcode 14 or newer. There you can enter on the left panel the last pane “Report navigator” and then switch to the subtab “Cloud”.
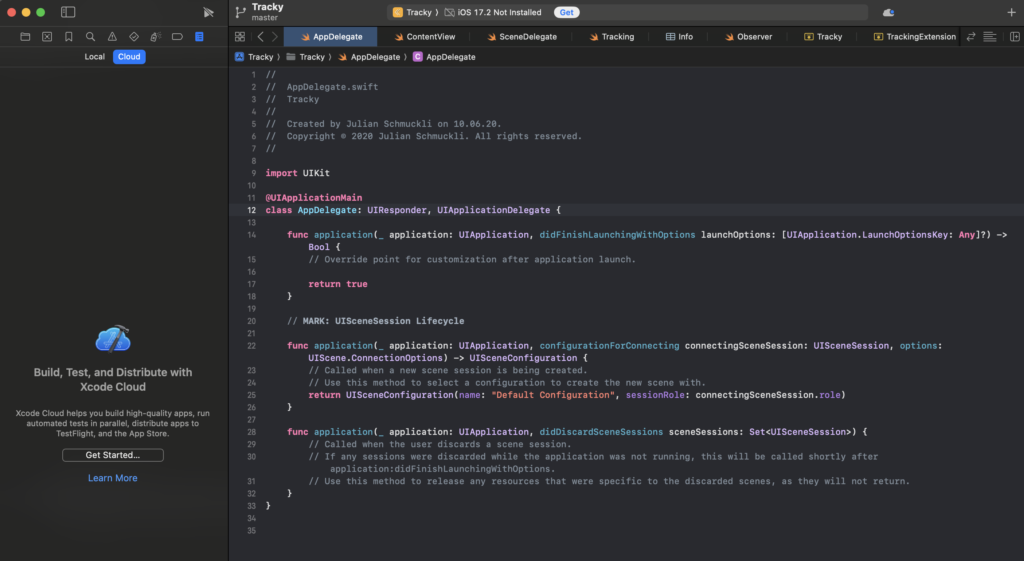
Now we can select “Get started…” to setup the process.
In our dialog, we select our app, which we want to build in the future in the cloud.
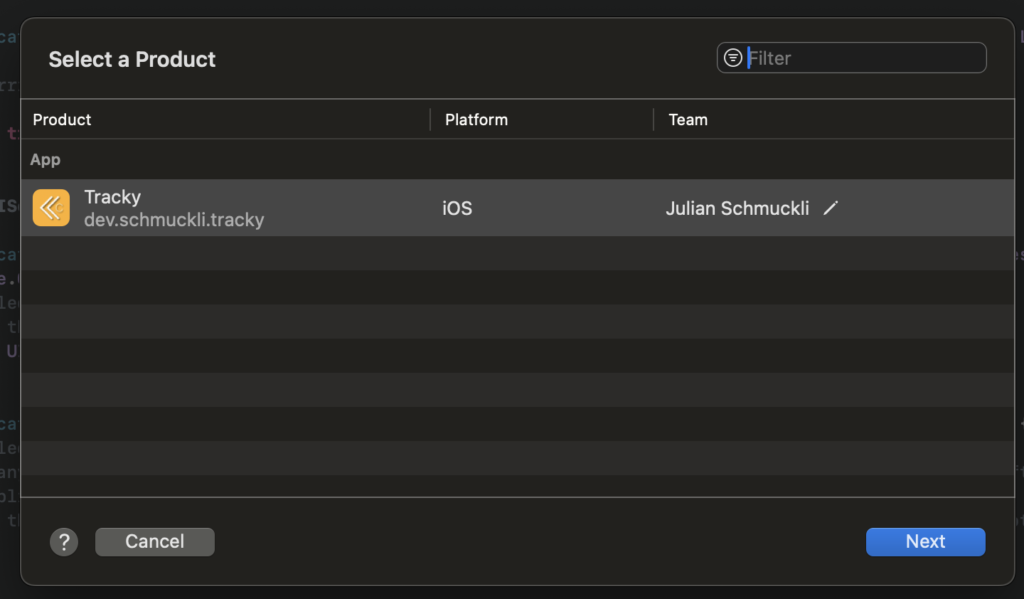
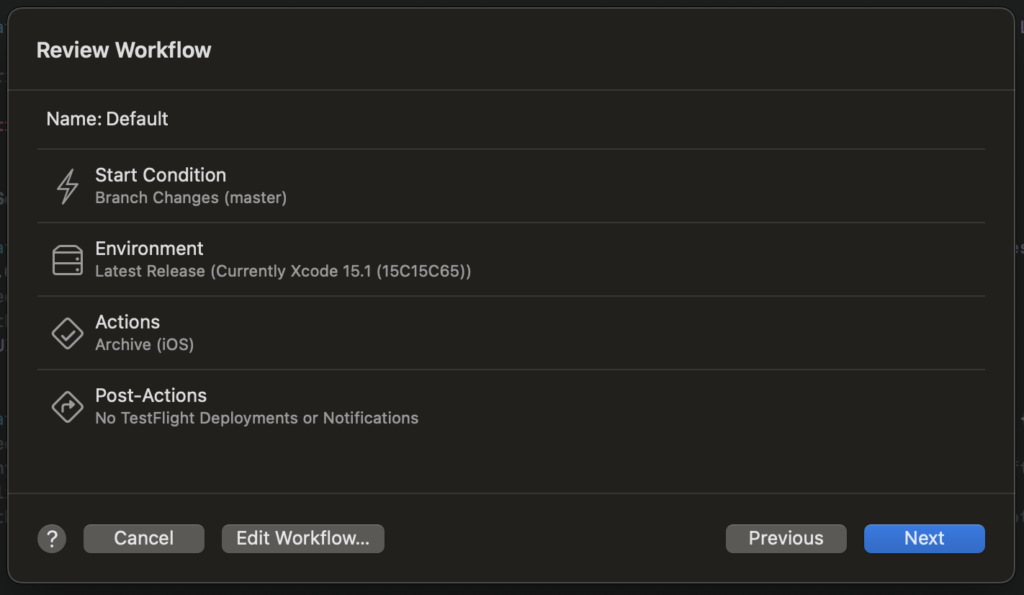
When we click “Next”, we get a predefined workflow, which we could also edit, if we would like to change some steps inside the actions or the runtime.
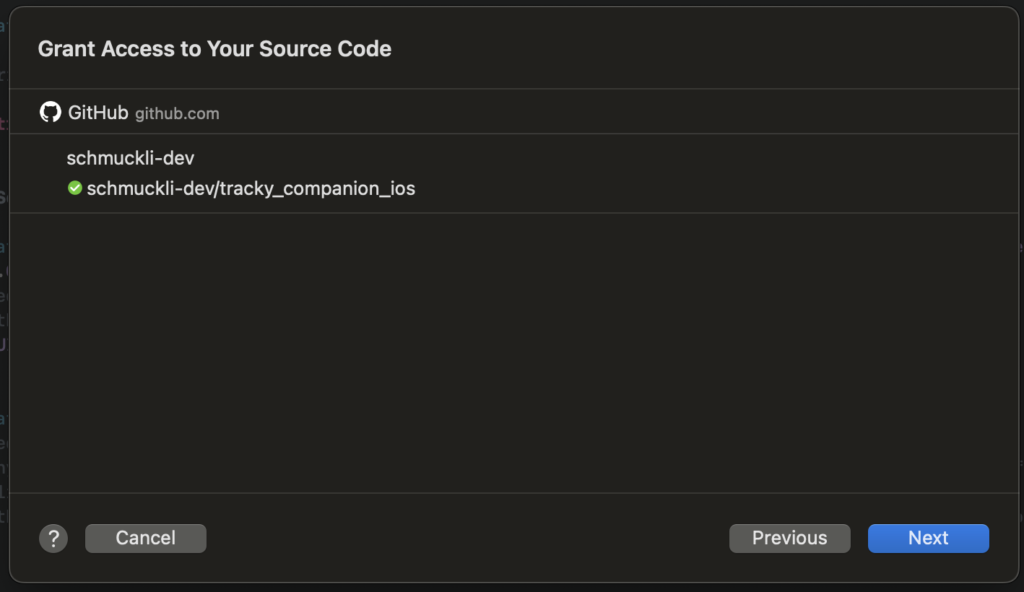
Since we have setup a Git Repository, Xcode automatically detects here also our GitHub repository, from which it could fetch the source code to build it from later. For that, we need to grant the access to it.
The already published app in the app store also gots identified by the Bundle ID and therefore we just need to confirm and complete the setup.
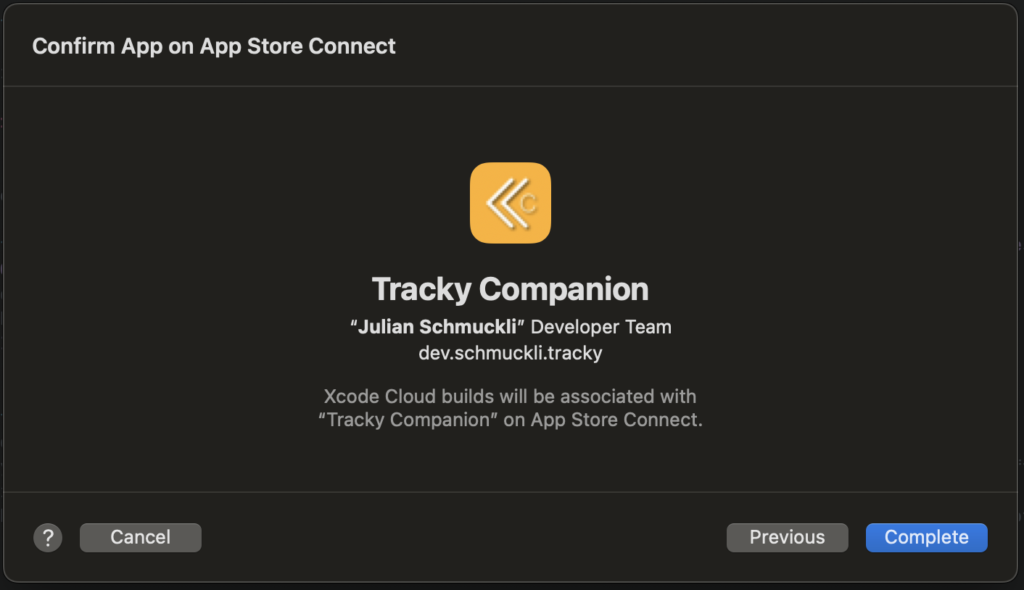
Note: If you may get an error the first time, you sometimes have to try it multiple times to complete this step.
Start the workflow
Now that we have setup the workflow in your account, we can now start our first build. Depending on your branches
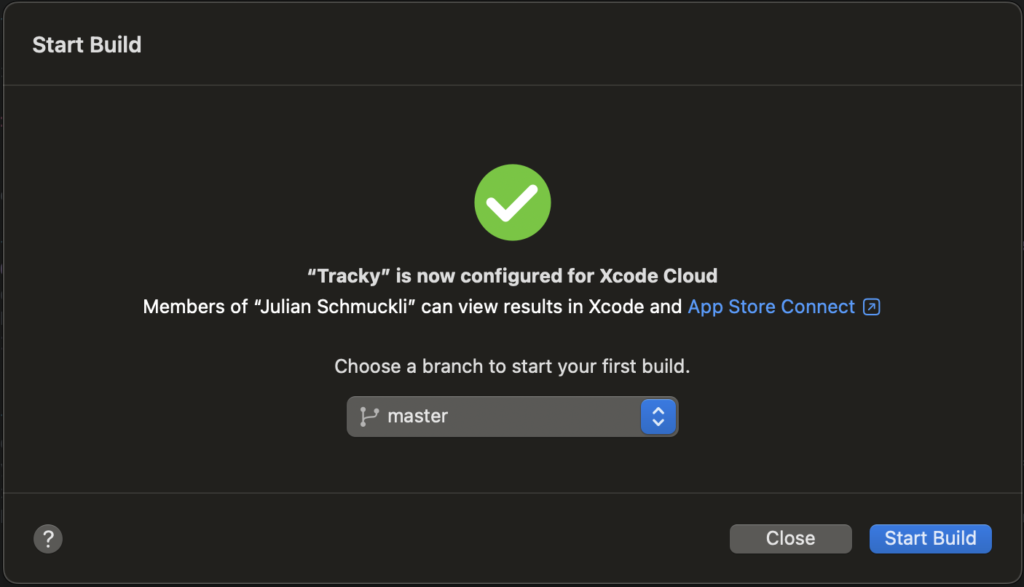
If we open now the App Store Connect, we now see that our workflow just has started and now builds the app in the cloud and if setup as default, automatically distributes it to the Test Flight channel. From there it can also directly be sent to the app review process to finally publish the app globally.
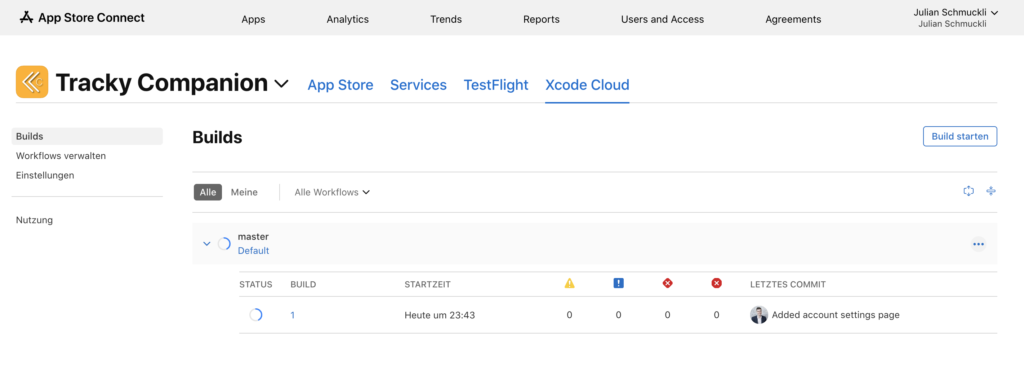
Ensure distribution
At this point the build just gets archived and we need to change a small option to make our app available for Test Flight. For that we go to “Manage workflows” and select our “Default” workflow, which was just generated.
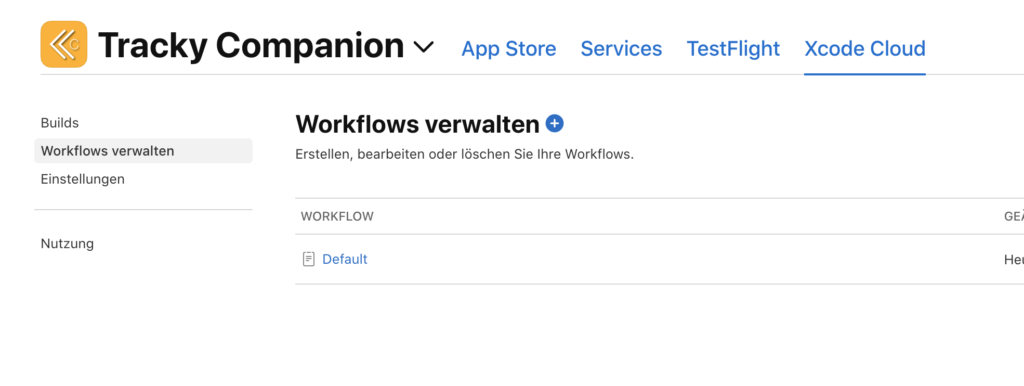
There we have the option to change the distribution mode, which we change to “Test Flight and App Store”.
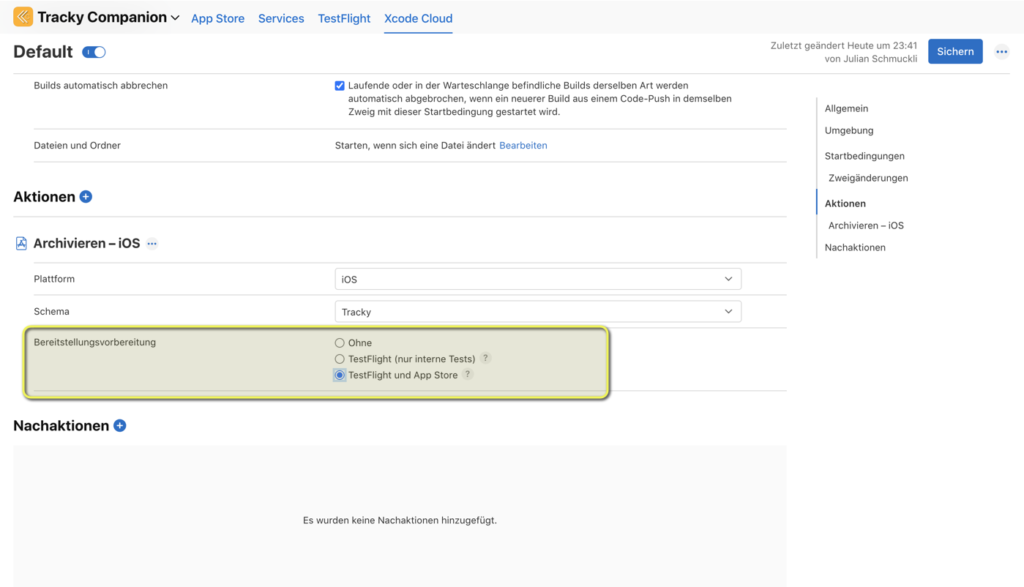
Just save the workflow again and start another build.
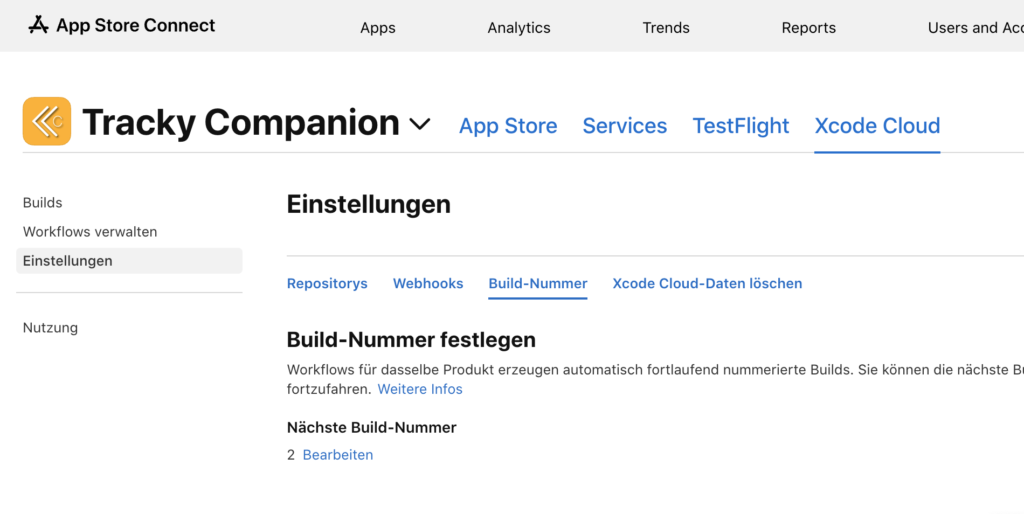
Another note is that if you already have deployed some build versions and need to have a higher build version number, you can adjust this by simply set a new build number in the settings:


Leave a Reply